1. Introduction
Warm up your day with a bowl of Keto Tuscan Soup—a dish that embodies comfort and nostalgia. Picture this: a chilly evening, and you cozy up with a steaming bowl of rich,
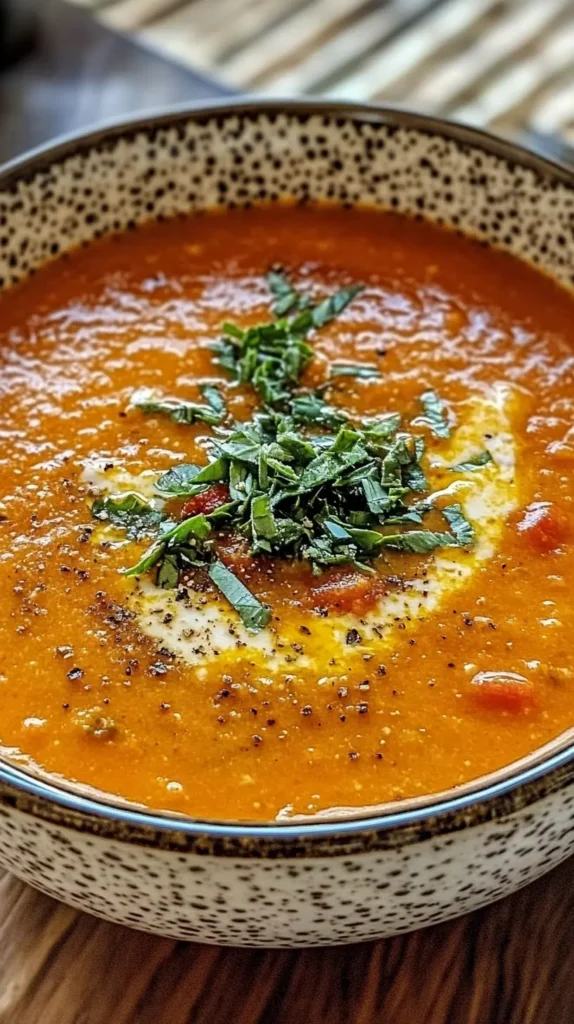
creamy soup that not only satisfies your taste buds but also aligns with your health goals. This recipe is special because it marries the robust flavors of Italian cuisine with keto-friendly ingredients, making it a perfect choice for those looking to enjoy hearty meals without compromising on their dietary plans. Expect a medley of savory sausage, fresh spinach, and creamy goodness that creates a unique and satisfying dish that you’ll want to make over and over.
2. Why Make This Recipe?
Here are a few compelling reasons to try Keto Tuscan Soup:
- Easy and Quick: This recipe can be whipped up in about 30 minutes, making it perfect for a weeknight dinner.
- Budget-Friendly: All the ingredients are affordable and easily accessible, creating a delicious meal without breaking the bank.
- Family Favorite: Its rich flavors and creamy texture make it a sure hit with everyone, even the kids.
- Healthy & Diet-Friendly: Packed with nutrients and low in carbs, this soup fits well into a keto lifestyle, making it a guilt-free indulgence.
3. How to Make Keto Tuscan Soup
Ingredients

Keto Tuscan Soup
Ingredients
To make this delicious Keto Tuscan Soup, you will need:
- 1 pound of Italian sausage mild or spicy
- 3 cloves of garlic minced
- ½ cup of chopped onion
- 4 cups of chicken broth
- 1 cup of heavy cream
- ½ cup of grated Parmesan cheese
- 2 cups of fresh spinach chopped
- ½ cup of sun-dried tomatoes chopped
- 2 tablespoons of olive oil
- Salt and pepper to taste
- ½ teaspoon of crushed red pepper flakes optional, for heat
Instructions
- Heat olive oil in a large pot over medium heat. Add the Italian sausage, breaking it apart, and cook until browned. Drain excess fat, leaving about 1 tablespoon in the pot.
- Add chopped onions and sauté for about 3 minutes until soft. Stir in the minced garlic and cook for 1 minute until fragrant.
- Pour in the chicken broth, stir, and bring to a gentle boil. Reduce heat and simmer for 10 minutes.
- Stir in the heavy cream, chopped spinach, and sun-dried tomatoes. Cook for another 3-5 minutes until the spinach is wilted.
- Add the grated Parmesan cheese and mix until it melts into the soup. Season with salt, black pepper, and red pepper flakes.
- Let everything simmer for 2-3 more minutes. Serve hot and garnish with extra Parmesan or fresh basil if desired.
Notes
- For a dairy-free version, substitute heavy cream with coconut cream and use nutritional yeast instead of Parmesan.
- Adjust thickness by adding more broth for a thinner consistency or simmering longer for a thicker soup.
- Can be made with kale instead of spinach for extra texture.
Directions
- Brown the Sausage: Start by browning the Italian sausage in a large pot over medium heat. Once it’s nicely browned, remove it from the pot and set it aside.
- Sauté Onions and Garlic: In the same pot, add the diced onions and minced garlic. Sauté these until they become translucent and fragrant, about 3-4 minutes.
- Add Broth and Cauliflower: Pour in the chicken broth and stir in the diced cauliflower. Bring the mixture to a boil.
- Simmer: Once boiling, reduce the heat and let it simmer for about 10 minutes to soften the cauliflower.
- Creamy Goodness: Stir in the heavy cream, cooked sausage, fresh spinach, Italian seasoning, and season with salt and pepper to taste. Allow everything to cook together for an additional 5 minutes.
- Serve: When ready, serve hot and enjoy a bowl of this flavorful goodness!

4. How to Serve Keto Tuscan Soup
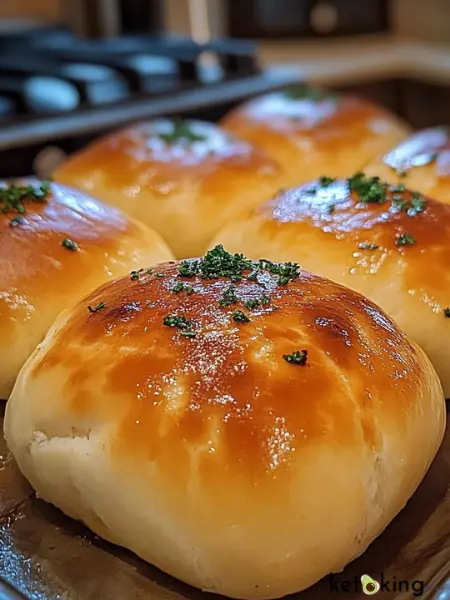
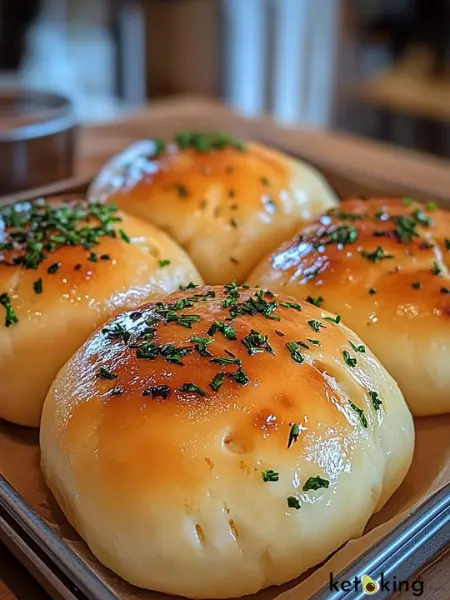
- With Crusty Bread: Serve with a slice of your favorite low-carb bread for dipping.
- Garnished with Parmesan: Top with freshly grated Parmesan cheese for an extra flavor kick.
- As a Starter: Pair with a light salad or a refreshing cucumber and tomato salad to balance the richness of the soup.
5. How to Store Keto Tuscan Soup
- Refrigeration: Store the soup in an airtight container in the fridge for up to 4-5 days.
- Freezing: You can freeze the soup for up to 2-3 months. Reheat it gently on the stove or in the microwave, adding a splash of broth to regain its creamy consistency.
6. Tips to Make Keto Tuscan Soup Perfectly
- Enhancing Flavor: For extra depth, add a splash of lemon juice or a dash of red pepper flakes.
- Avoiding Common Mistakes: Don’t overcook the spinach—add it just before serving to retain its vibrant color and nutrition.
- Cooking Techniques: Sautéing the sausage first allows the flavors to develop, infusing the oil and enhancing the soup’s overall taste.
- Texture Considerations: For a thicker soup, you can blend a portion of it after cooking or add more cauliflower.
7. Variations (If Any)
- Vegan or Vegetarian Version: Substitute Italian sausage with plant-based sausage or mushrooms, and use coconut milk instead of heavy cream.
- Gluten-Free Adaptation: Ensure your chicken broth is gluten-free for a suitable version.
- Low-Carb Modifications: Omit the heavy cream for a lighter soup or substitute with almond milk for a dairy-free option.
8. Frequently Asked Questions (FAQ)
- Can I make Keto Tuscan Soup ahead of time? Yes, this soup tastes even better the next day as the flavors meld together nicely.
- What are the best substitutes for Italian sausage? You can use ground turkey or chicken seasoned with Italian spices if you prefer a leaner option.
- Can I cook this recipe in an air fryer? While the soup itself isn’t suitable for air frying, you can use an air fryer to brown the sausage before adding it to the soup.
9. Conclusion
Keto Tuscan Soup is not only a comforting dish that’s quick and easy to prepare, but it also offers a delightful combination of flavors that everyone will love. Whether you’re enjoying it on a cold night or serving it up for a family dinner, this recipe is bound to become a staple in your kitchen. I encourage you to give it a try and share your experience! Don’t forget to leave a comment, rate the recipe, or share it on social media—let’s spread the joy of delicious and healthy cooking!