Ever have those days where you open the fridge and just… nothing looks good? Bacon Ranch Egg Salad packs will fix that real quick, promise. If you’re into quick, tasty meals that don’t leave you carb-loaded and dazed, you’re in the right place. I’m talking foolproof flavor, super easy prep, and enough bacon to make anyone smile. Plus, it’s the kind of thing you can eat out of a container standing by the sink (don’t judge, we’ve all been there). By the way, this fits perfectly with other low-carb game changers like keto egg noodles or even a bowl of creamy egg noodles if you’re craving something a little different.

Low-Carb Egg Salad
This might get me in trouble with egg purists, but y’all… egg salad does NOT have to be boring. Bacon Ranch Egg Salad is super satisfying and stays friendly with low-carb diets. You can throw it over some greens, stuff it in a lettuce wrap, or pile it beside your favorite roasted veggies.
Eggs are already packed with protein, so you stay full. Throw in ranch and bacon? That’s a flavor party and the carbs stay snoozing. I’ve tried a million so-called “healthy” salads and most taste like air, but this one keeps you excited for lunch. Also, the best part might be how easy it is to customize—add more bacon, play with the herbs, whatever makes your kitchen happy.

How to Make Bacon Ranch Egg Salad

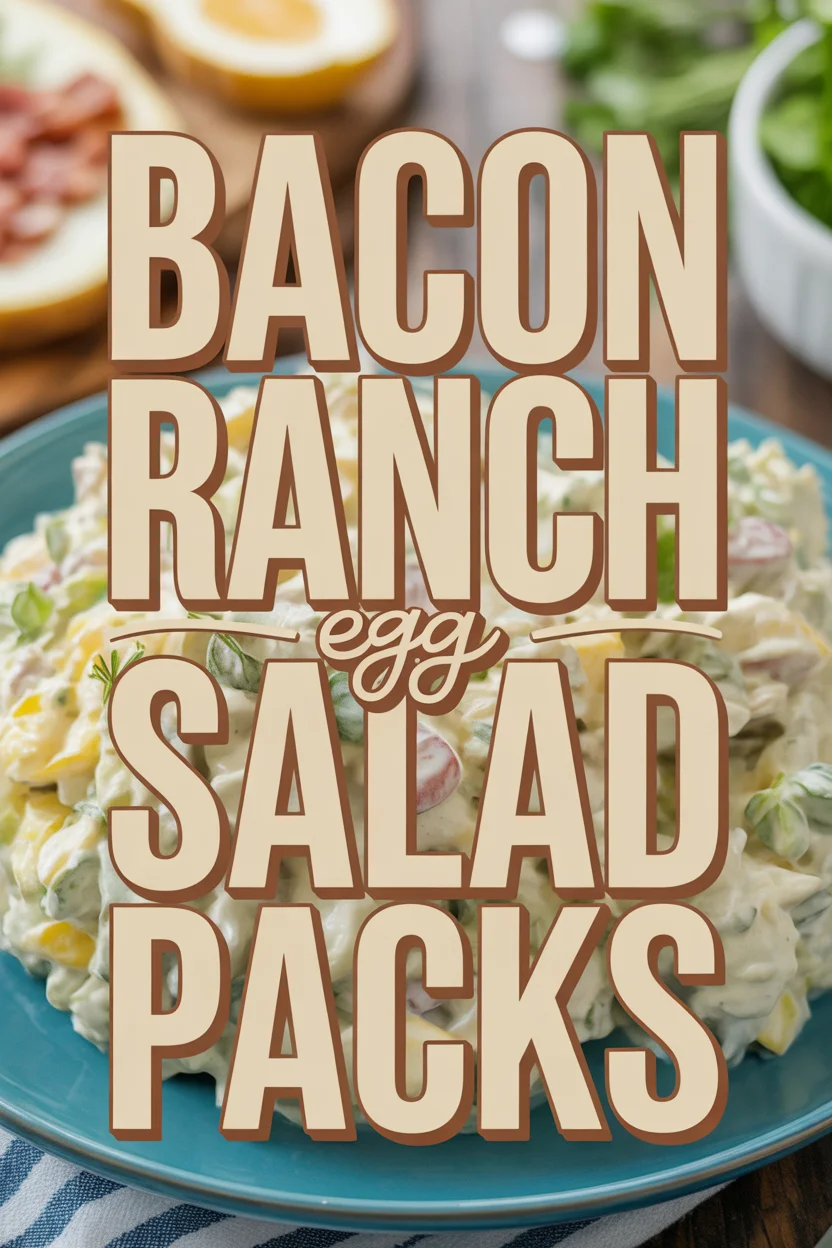
Bacon Ranch Egg Salad
Equipment
- Medium pot (for boiling eggs)
- Frying pan (for cooking bacon)
- Mixing bowl
- Spoon or fork (for mashing and mixing)
- Airtight container (for storage)
Ingredients
- 6 hard-boiled eggs
- 4 –6 strips of cooked bacon crumbled
- 3 –4 tablespoons ranch dressing or Greek yogurt ranch
- 2 tablespoons chopped green onions
- Salt to taste
- Black pepper to taste
- Optional: Ranch seasoning powder for extra flavor
Instructions
- Boil the eggs: Place eggs in a pot, cover with cold water, bring to a boil, then simmer for 9–10 minutes. Cool and peel.
- Cook the bacon: In a frying pan over medium heat, cook bacon until crisp. Drain and crumble.
- Mash the eggs: Add peeled eggs to a mixing bowl. Mash roughly with a fork—leave some texture.
- Mix it up: Add crumbled bacon, ranch dressing, green onions, salt, and pepper. Mix until combined.
- Taste and adjust: Add more ranch or bacon if needed.
- Serve or store: Serve immediately or refrigerate in an airtight container.
Notes
Alright, let’s get into the how-to. First off, you’ll want about half a dozen hard-boiled eggs. If you’re like me and sometimes forget about them on the stove, just set a timer (trust me). Peel and mash ‘em awkwardly in a bowl, not too smooth, leave some chunks.
Next, real bacon—yeah, you could use bits, but honestly, fry up some strips and crumble them yourself. It changes the vibe. Sprinkle in ranch dressing (honestly, regular or Greek yogurt ranch both work, I can’t tell the difference). Some chopped green onions pop things, plus a dash of salt and black pepper.
Stir together until everything marries up. It’s not fussy, just mix and taste as you go. If it’s missing “oomph,” add a little more ranch or bacon. Easy fixes.

Storing Egg Salad
Now, if you don’t eat it all at once (restraint isn’t my strong suit), you can store the leftovers. Scoop the egg salad into an airtight container. In the fridge, it’ll happily survive up to three, maybe four days if you’re lucky.
Here’s the key—you do NOT want it sitting out. Eggs and mayo-y things get weird quick if they aren’t kept cold. So, yep, lunchboxes need ice packs. I’m not risking food poisoning for anyone’s egg salad, and neither should you.
“I made a double batch of this Bacon Ranch Egg Salad for meal prep—my family fought over it in the fridge! Gone in two days flat, and my picky teen even asked for more. Total winner.”
—Jillian K, actual salad hoarder

Serving Suggestions
Let’s get creative for a sec. How you serve this is up to you, but here are a few ideas I swear by:
- Slap it inside crisp lettuce cups for a low-carb hand-held bite.
- Load it on cucumber slices if you want something crunchy and refreshing.
- Scoop generous piles onto toasted keto bread or even in a wrap—so good!
Mix and match, see what sticks. Sometimes I just eat it right out of the bowl. Hey, no judgement.
Tips and Tricks
I’ve definitely made this a few times (okay, probably monthly, who’s counting?). If you want your egg salad to pop, use peppered bacon—adds a subtle kick. Ranch seasoning powder is super handy if your dressing is bland, just sprinkle a pinch in for a stronger ranch flavor.
And chop those eggs chunky. No one likes sad, pulverized egg salad. Little bites of white and yolk keep it interesting. Need more ideas for dinner? Bacon Ranch Egg Salad fits perfectly beside a keto ground beef veggie bowl with cheese sauce, especially if you want that extra something. Or, add it on top of a sheet pan cajun sausage and shrimp with veggies for a total meal mashup.
One more tip—if you want to up your protein but hate mayo, swap in Greek yogurt, honestly, it’s barely noticeable but feels lighter.
Common Questions
Can I make this ahead for the week?
Absolutely. It’s great for meal prep, just keep it sealed up in the fridge and stir before serving if needed.
Can you freeze egg salad?
Ooof, not a good idea. Eggs get kinda rubbery and weird in the freezer. I’d just make enough for a couple of days.
What’s the best bacon to use?
Real, smoky bacon strips. Not bits from a bag. You’ll taste the difference—I’ve gone both ways, and strips win every time.
Can I make it dairy-free?
Totally possible. Use a dairy-free ranch and you’re golden.
Got any other salad combos to recommend?
If you dig this, check out my chicken bacon spinach combo. Honestly, toss in whatever’s hanging out in your fridge, you never know until you try.
Ready to Pack in the Flavor?
So, that’s my full take on Bacon Ranch Egg Salad packs. Trust me, this is nothing like your average bland lunch—it’s hearty, it’s salty-sweet, and it makes sticking to a low-carb goal actually taste epic. The good news? Tons of folks online have loaded up more brilliant twists on this classic: check out Beyer Eats and Drinks’ Bacon Ranch Egg Salad, or the super easy guide from 4 Sons ‘R’ Us for more lunch ideas. If you’re craving never-boring keto lunches, Stylish Cravings has another version that’s absolutely worth a peek. For the cheddar-heads, Buns in My Oven does a cheddar bacon egg salad that’s basically five-star. Want an even funkier take? Try the famous cracked out egg salad at Plain Chicken and see what all the hype’s about.
So, next time you’re staring into that empty fridge, grab some eggs and bacon—go make something better than takeout!