1. Introduction
Are you craving a delicious snack that’s also on the healthy side? Picture yourself indulging in a cheesy, savory pizza flavor packed into a rolled-up snack that won’t derail your diet. These Keto Pizza Roll Ups
are not just a quick fix for your cravings; they bring the nostalgic taste of pizza right to your fingertips without the guilt associated with traditional options.
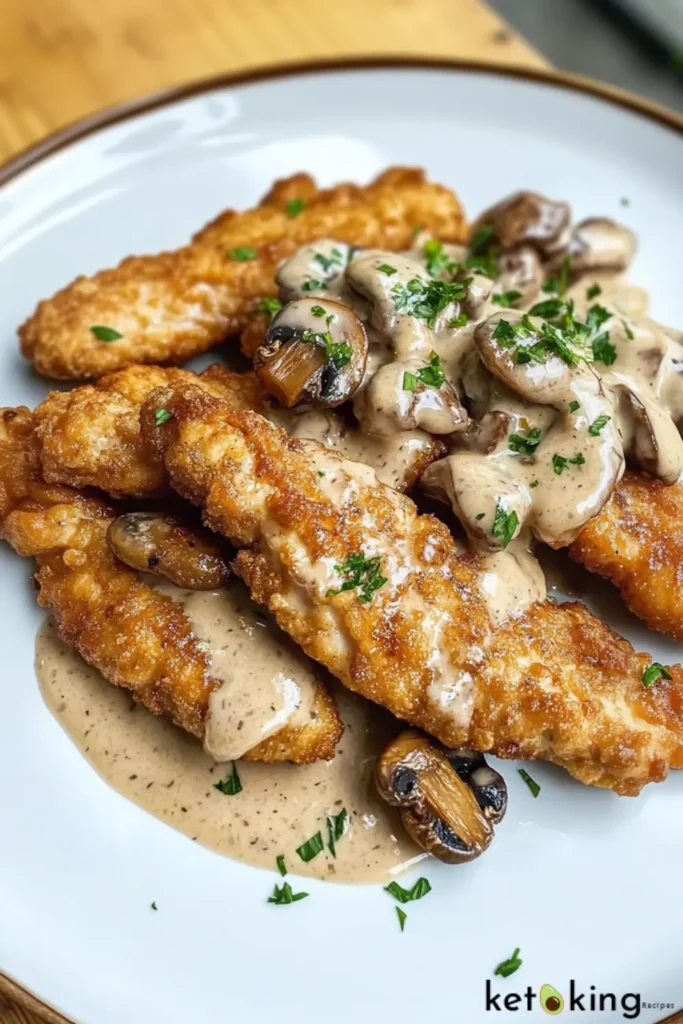
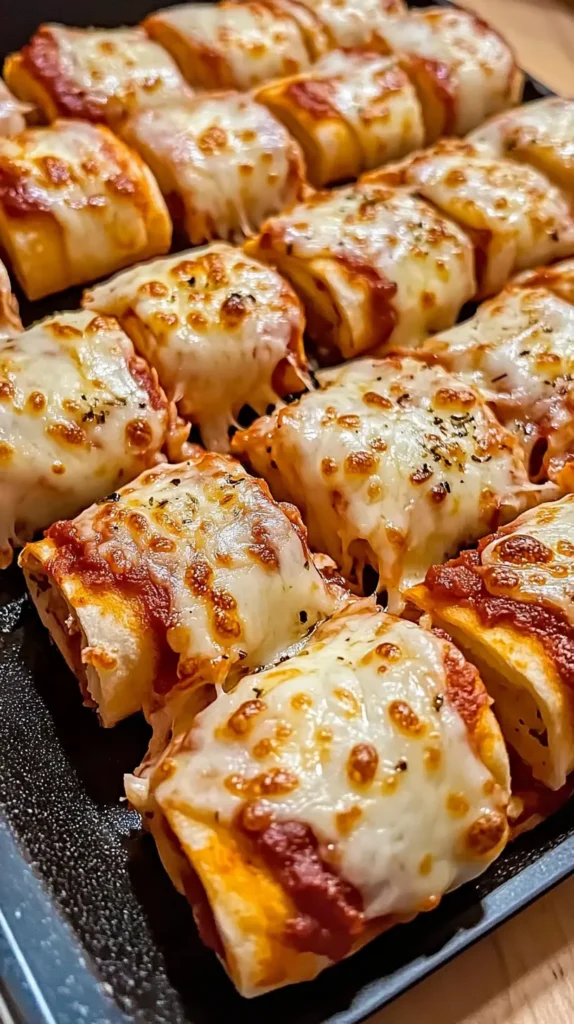
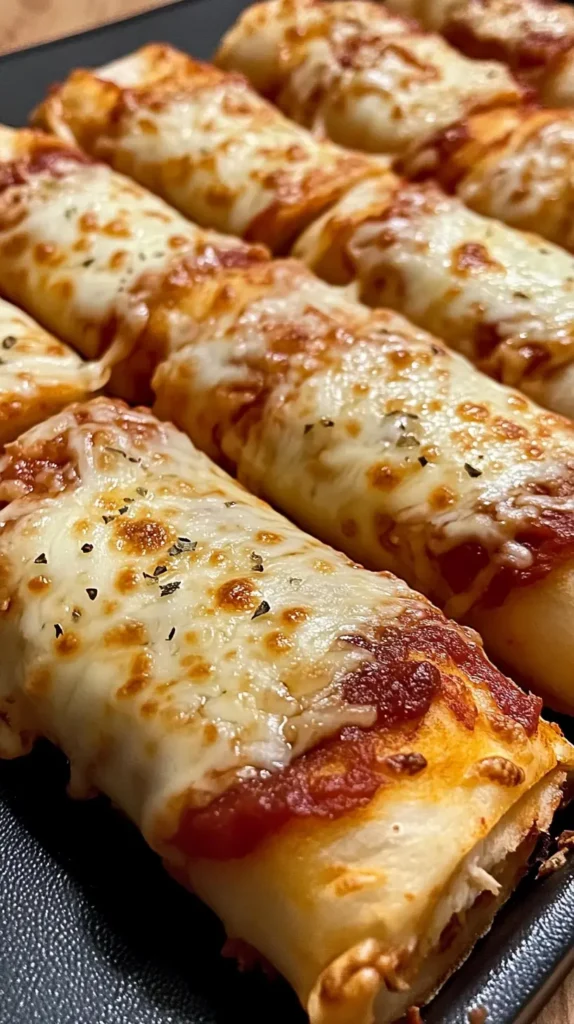
The moment you take a bite, the warm, melted mozzarella combined with the zesty pepperoni and aromatic Italian seasoning dances on your taste buds. Each roll offers the satisfying texture of a crunchy exterior with a gooey interior, making these bites a unique and enjoyable treat that everyone will love.
2. Why Make This Recipe?
Making Keto Pizza Roll Ups is a fantastic choice for several reasons:
- Easy and Quick: With just a few simple ingredients, you can whip these up in no time—perfect for a quick snack or appetizer.
- Budget-Friendly: Using everyday ingredients means you won’t break the bank, making these roll-ups an accessible treat for everyone.
- Family Favorite: Kids and adults alike will enjoy this low-carb option, pleasing even the pickiest eaters at your table.
- Healthy and Diet-Friendly: This recipe keeps carbs low while satisfying your pizza cravings, aligning perfectly with keto and low-carb diets.
3. How to Make Keto Pizza Roll Ups
Ingredients

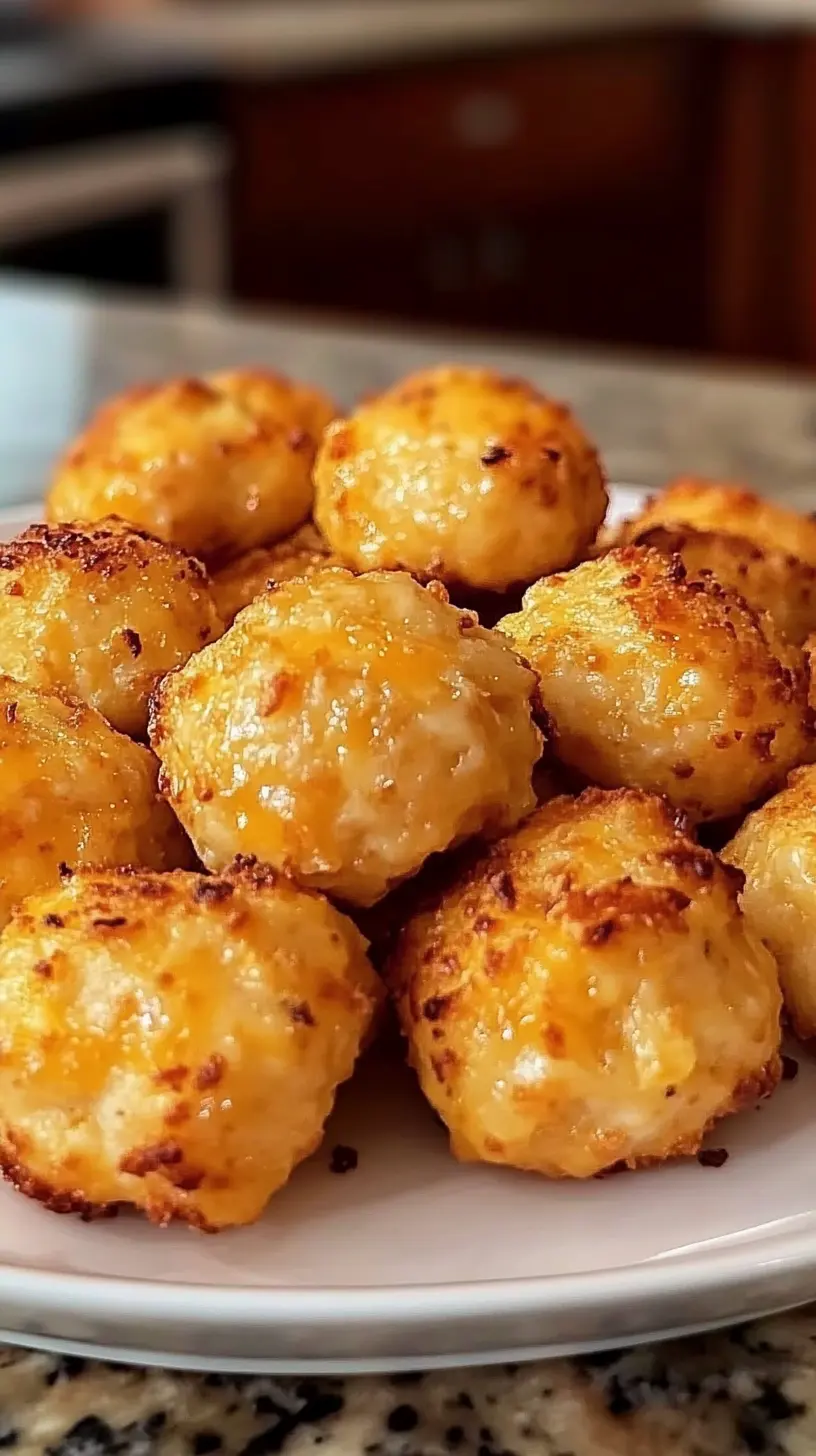
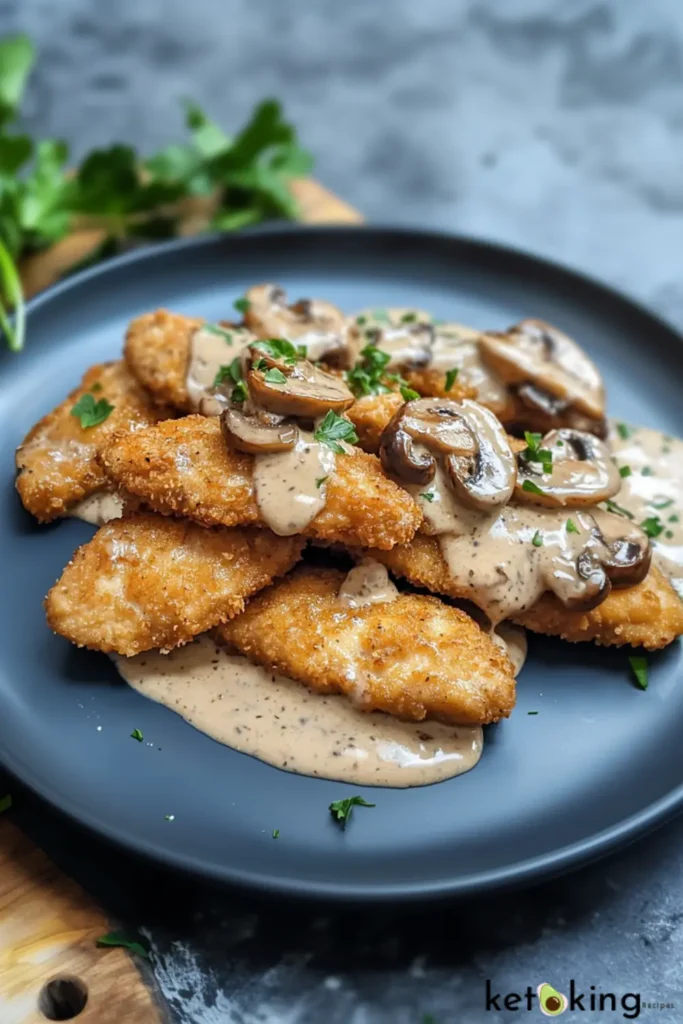
Keto Pizza Roll Ups
Equipment
- Baking sheet
- Parchment paper or silicone baking mat
- Oven
- Spatula or tongs
Ingredients
- Ingredients
- 1 cup shredded mozzarella cheese
- 10 slices of pepperoni
- 1 tsp Italian seasoning
- 1 tbsp low-carb marinara sauce optional, for dipping
Instructions
- Instructions
- Preheat your oven to 400°F (200°C).
- Line a baking sheet with parchment paper or a silicone mat.
- Place small piles of shredded mozzarella (about 2 tablespoons each) on the baking sheet, spaced evenly.
- Sprinkle each pile with a pinch of Italian seasoning.
- Place a slice of pepperoni in the centre of each cheese pile.
- Bake for 6–8 minutes, or until the edges are golden and bubbly.
- Let them cool for 1–2 minutes, then use a spatula to roll them up while still pliable.
- Serve warm with marinara sauce for dipping if desired.
Notes
You can swap pepperoni for other keto-friendly toppings like cooked sausage or mushrooms. For extra crispiness, let them cool slightly longer before rolling. Store leftovers in the fridge and reheat in the oven to keep them crisp.
Directions
- Preheat your oven to 350°F (175°C).
- Lay out the mozzarella slices on a baking sheet. Ensure they’re spaced out for even melting.
- Sprinkle with Italian seasoning and add chili flakes if you desire some heat.
- Layer the pepperoni slices generously on top of the cheese.
- Bake in the preheated oven for about 5 minutes, or until the cheese is beautifully melted.
- Let cool slightly before rolling each piece up to avoid burns.
- Serve with keto-friendly marinara on the side, or enjoy them plain for a simple yet delicious snack.
4. How to Serve Keto Pizza Roll Ups
Here are a few ideas to make your Keto Pizza Roll Ups even more enjoyable:
- Side of Dips: Pair them with a side of keto-friendly marinara or ranch dressing for dipping.
- Salad Pairing: Complement your roll-ups with a fresh garden salad for a well-rounded meal.
- Creative Presentation: Arrange them on a platter and garnish with fresh basil for a touch of elegance.
5. How to Store Keto Pizza Roll Ups
Storing your Keto Pizza Roll Ups is simple:
- Refrigeration: Store in an airtight container in the fridge for up to 3 days.
- Freezing: For longer storage, you can freeze them. Place them in a single layer on a baking sheet until solid, then transfer to a freezer bag. They can last up to 2 months.
- Reheating: To reheat, bake in the oven at 350°F until heated through (about 10 minutes), or microwave for a quick fix, but the oven method helps maintain crispiness.
6. Tips to Make Keto Pizza Roll Ups Perfectly
Here are some expert tips to enhance your Keto Pizza Roll Ups:
- Experiment with Cheese: Try different cheeses for varying flavors; gouda or cheddar can add a delightful twist.
- Avoid Over-Cooking: Keep an eye on the cheese; you want it melted, not browned.
- Uniform Thickness: Ensure your mozzarella slices are of uniform thickness, so they melt evenly.
- Add Veggies: For extra nutrition, consider adding some sautéed spinach or mushrooms inside the rolls.
7. Variations (If Any)
Feel free to modify the Keto Pizza Roll Ups according to your dietary needs:
- Vegan or Vegetarian Version: Use vegan cheese and leave out the pepperoni for a plant-based alternative.
- Gluten-Free Adaptation: Ensure all ingredients are gluten-free, including any seasonings or marinara you use.
- Different Proteins: Swap pepperoni for ham, chicken, or even vegetables if you prefer to get creative.
8. Frequently Asked Questions (FAQ)
Can I make Keto Pizza Roll Ups ahead of time?
Yes, you can prepare the ingredients and store them separately until ready to bake.
What are the best substitutes for mozzarella?
Provolone or gouda are excellent alternatives if you want to switch things up.
Can I cook this recipe in an air fryer?
Absolutely! Air fry them for about 3-4 minutes at 350°F for a quick and crispy version.
9. Conclusion
In summary, Keto Pizza Roll Ups are a delicious and easy-to-make snack that kids and adults will love. Their low-carb profile makes them an excellent option for those on a keto or low-carb diet, while their cheesy, savory flavor satisfies cravings without the guilt.
Now it’s your turn! Try this recipe, share your experience, and let us know how your Keto Pizza Roll Ups turned out in the comments below. Don’t forget to rate the recipe and share it on social media with your friends and family!