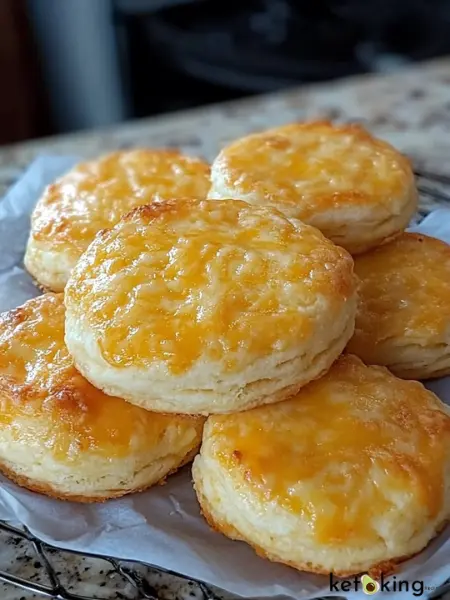
If you’re following a keto diet but still crave crispy, fluffy waffles, then Keto Chaffles are about to become your new favourite breakfast! Made with simple, low carbs ingredients, chaffles are an easy and delicious way to satisfy your waffle cravings without derailing your diet.
This Blogpost will guide you through what chaffles are, how to make them, variations to try, tips for the perfect crispy texture, how to store them, and even meal ideas. Whether you prefer a savoury or sweet twist, this guide has you covered!
What is a Keto Chaffle?
A chaffle is a waffle made primarily from cheese and eggs, making it naturally low-carb and perfect for keto. The word “chaffle” comes from blending “cheese” and “waffle”, as cheese is the key ingredient that gives it structure and crispiness.
Why You’ll Love Keto Chaffles
- Super easy to make – Just mix and cook!
- Low-carb & keto-friendly – Perfect for a low-carb lifestyle.
- Versatile – Enjoy them sweet or savoury.
- Only a few ingredients – You likely have them in your kitchen already.
- Great for meal prep – Store and reheat easily!
Ingredients for the Basic Keto Chaffle
Low-Carb Chaffles
Ingredients
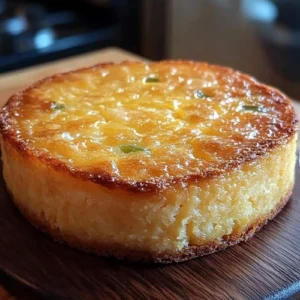
For the Pie:
- 4 large eggs
- 1/2 cup granulated erythritol or preferred keto sweetener
- 1/4 cup melted butter
- 1 teaspoon vanilla extract
- 1/2 teaspoon coconut extract optional for extra flavour
- 1/4 teaspoon salt
- 1/2 cup heavy cream
- 1/2 cup unsweetened coconut milk
- 1 cup unsweetened shredded coconut
- 1 teaspoon baking powder
For the Chaffles:
- 1 large egg
- 1/2 cup shredded mozzarella or cheddar cheese
- 1 tablespoon almond flour
- 1/4 teaspoon baking powder
- 1/2 teaspoon sweetener for sweet chaffles, optional
Instructions
For the Pie:
- Preheat Oven: Preheat your oven to 350°F (175°C). Grease a 9-inch pie dish with butter or non-stick spray.
- Mix Ingredients: In a large mixing bowl, whisk together the eggs, sweetener, melted butter, vanilla extract, coconut extract (if using), and salt until well combined.
- Add Dairy and Coconut: Stir in the heavy cream, coconut milk, shredded coconut, and baking powder. Mix until smooth.
- Bake: Pour the batter into the greased pie dish and bake for 40-45 minutes, or until the custard is set and the top is golden brown.
- Cool and Serve: Let the pie cool before slicing. Serve warm or chilled, optionally topped with whipped cream or extra coconut flakes.
For the Chaffles:
- Preheat the waffle maker and grease it with non-stick spray if needed.
- Mix the ingredients in a small bowl until well combined.
- Cook: Pour the batter into the waffle maker and cook for 3-4 minutes until crispy.
- Serve: Enjoy with butter, sugar-free syrup, or any desired toppings.
Notes
- Store leftovers in the refrigerator for up to 5 days.
- For extra coconut flavour, toast the shredded coconut before adding it to the batter.
- Chaffles can be sweet or savoury depending on the toppings used.
Optional Ingredients for Variations
- Sweet Chaffles: Add 1 tbsp sweetener + ½ tsp vanilla extract.
- Savoury Chaffles: Add 1 tsp garlic powder or herbs.
- Spicy Chaffles: Add 1 tsp chili flakes or hot sauce.
How to Make Keto Chaffles
Step 1: Preheat the Waffle Maker
Preheat your mini waffle maker (such as the Dash Mini Waffle Maker) to ensure crisp edges.
Step 2: Mix the Ingredients
In a small bowl, whisk together egg, shredded cheese, almond flour, baking powder, and salt until well combined.
Step 3: Cook the Chaffle
- Grease the waffle maker with butter or non-stick spray.
- Pour half of the batter into the waffle maker.
- Close the lid and cook for 3-4 minutes, until golden brown.
- Remove and let cool for a minute to crisp up.
Repeat with the remaining batter.
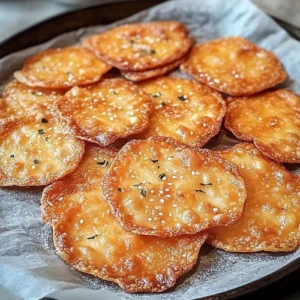
Keto Chaffle Variations
Sweet Keto Chaffle
Love a sweet breakfast? Try these tweaks:
- Add 1 tbsp sweetener + ½ tsp cinnamon to the batter.
- Top with sugar-free syrup or whipped cream.
- Mix in sugar-free chocolate chips for extra sweetness.
Savoury Keto Chaffle
Great for sandwiches or burger buns:
- Add garlic powder, onion powder, and cheddar cheese.
- Use as a base for a keto-friendly sandwich.
Pizza Chaffle
Craving pizza? Try this version:
- Use parmesan and mozzarella cheese.
- After cooking, add tomato sauce, cheese, and pepperoni, then broil for a minute.
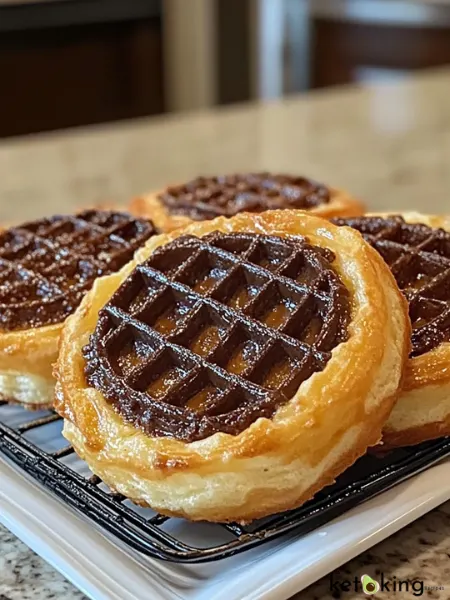
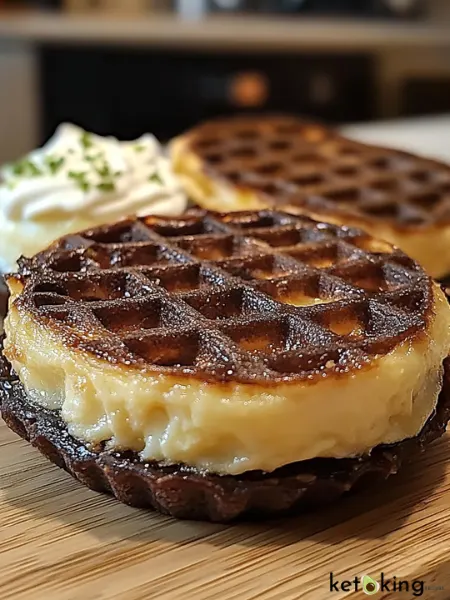
Chocolate Chaffle
Perfect for dessert:
- Add 1 tbsp cocoa powder + 1 tbsp keto sweetener.
- Top with whipped cream and sugar-free chocolate chips.
Breakfast Chaffle
For a complete breakfast:
- Top with bacon and eggs.
- Serve with avocado and smoked salmon.
How to Store and Reheat Chaffles
Refrigerate: Store in an airtight container for up to 5 days.
Freeze: Wrap individually and store for up to 3 months.
Reheat: Use a toaster, oven, or air fryer for best results.
Tips for the Perfect Chaffle
- Use a mini waffle maker for the best texture.
- Let the chaffle cool for 1-2 minutes after cooking for extra crispiness.
- Experiment with cheese – Mozzarella is mild, while cheddar adds more flavour.
- Make a double batch and freeze for quick meals.
Keto Meal Ideas with Chaffles
1. Keto Breakfast Sandwich
Use two chaffles as bread and fill with scrambled eggs, bacon, and cheese.
2. Chaffle Burger
Replace burger buns with two crispy chaffles.
3. Chaffle Pizza
Make a mini pizza base with chaffles, adding toppings of choice.
4. Chaffle Tacos
Fold a chaffle in half and fill with meat, cheese, and avocado.
5. Chaffle Dessert
Top with keto-friendly whipped cream and berries.
Nutritional Information (Per Chaffle)
| Nutrient | Amount |
| Calories | 200 |
| Net Carbs | 2g |
| Fat | 15g |
| Protein | 10g |
Frequently Asked Questions
How Do I Make Chaffles Crispy?
To get the crispiest chaffles, use more cheese and let them cool slightly before eating.
Can I Make Chaffles Without a Waffle Maker?
Yes! You can cook them in a pan like pancakes, but they won’t be as crispy.
What is the Best Cheese for Chaffles?
Mozzarella is mild and neutral, while cheddar, parmesan, or gouda give a stronger flavour.
Can Chaffles Be Used as Bread?
Absolutely! Use them as a bun for burgers or sandwich bread.
Can I Make Dairy-Free Chaffles?
Yes! Use dairy-free cheese or almond flour-based alternatives.
Conclusion
Keto chaffles are the perfect low-carbs alternative to traditional waffles, offering a crispy, cheesy, and delicious base for both sweet and savoury recipes. Whether you enjoy them for breakfast, lunch, or dinner, they’re quick to make and endlessly customizable.
Make a big batch and store them for later—what’s your favourite way to eat chaffles?